Mi Paulova
Hey everyone, I hope you are having an incredible day today. Today, I will show you a way to prepare a special dish, Mi Paulova. One of my favorites food recipes. This time, I am going to make it a bit tasty. This is gonna smell and look delicious.
Mi Paulova is one of the most favored of recent trending meals in the world. It's easy, it's fast, it tastes yummy. It is appreciated by millions every day. They are nice and they look fantastic. Mi Paulova is something that I have loved my entire life.
Many things affect the quality of taste from Mi Paulova, starting from the type of ingredients, then the selection of fresh ingredients, the ability to cut dishes to how to make and serve them. Don't worry if you want to prepare Mi Paulova delicious at home, because if you already know the trick then this dish can be used as an extraordinary special treat.
As for the number of servings that can be served to make Mi Paulova is 2 raciones. So make sure this portion is enough to serve for yourself and your beloved family.
Just in addition, the time it takes to cook Mi Paulova estimated approx 2 h..
To get started with this recipe, we must first prepare a few ingredients. You can have Mi Paulova using 6 ingredients and 4 steps. Here is how you can achieve it.
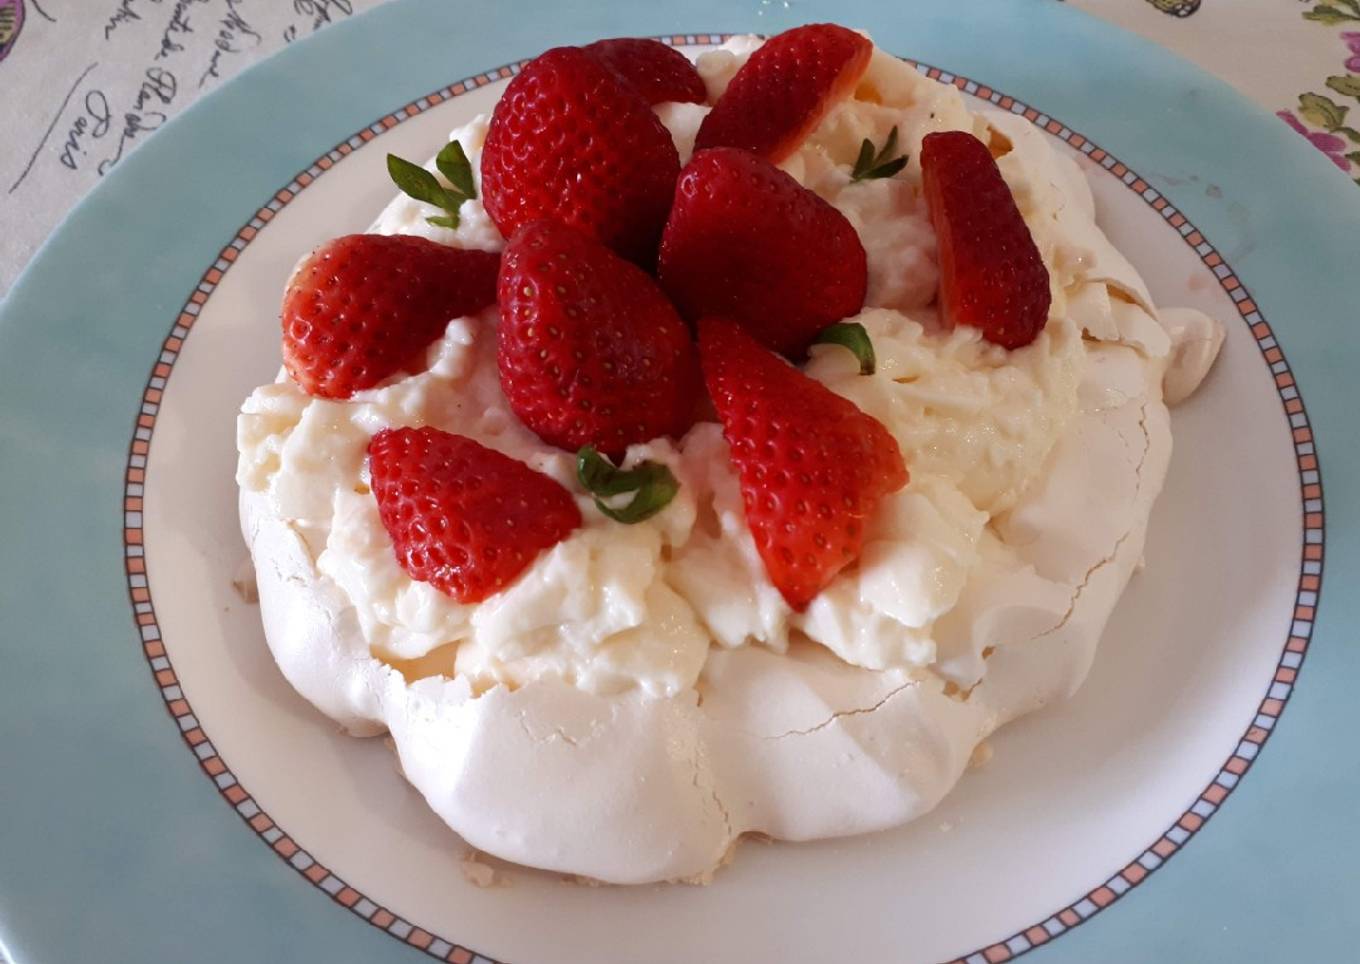
Me costó conseguirla, pero aquí la tenéis, si la mejoro ya os lo diré😂😂
Ingredients and spices that need to be Take to make Mi Paulova:
- 4 claras de huevos
- 120 grs. azúcar
- 40 grs. maicena
- 1 pizca sal
- Crema pastelera
- Fresas
Steps to make to make Mi Paulova
- La preparé con mi Thermomix, también se puede hacer a mano
- Colocamos la mariposa en la máquina, añadimos las claras, programamos 6 minutos, velocidad 3, sin el cubilete para que se aireen mejor. Acabado el tiempo, sin tiempo con velocidad 3 vamos vertiendo a cucharadas el azúcar a través del vocal hasta que esté todo el azúcar integrado en el merengue (unos 2 minutos) a continuación 1 minuto a velocidad 3 añadimos la maicena. Y ya tenemos el merengue, en la bandeja del horno ponemos cuatro puntos de merengue para fijar el papel de hornear, y la montamos

- Precalentar el horno a 100 grados, con calor arriba y abajo (toda la bóveda) yo la tuve una hora, tenéis que vigilar el horno, cada uno es diferente, tiene que quedar crujiente por fuera y blandita por dentro, yo prepare dos medianas.


- Se me olvidaba, cuando tengáis el merengue en el papel de la bandeja, con una cuchara le dais la forma, como la veis en la foto, tiene que quedar como un volcán, y el centro más unido para poder rellenar, el relleno a gusto de cada uno. Muy importante no abrir el horno hasta pasado 3/4 de hora.
As your experience and confidence expands, you will certainly locate that you have more all-natural control over your diet plan and also adapt your diet plan to your personal tastes over time. Whether you intend to serve a dish that uses fewer or even more components or is a little bit more or less zesty, you can make basic modifications to accomplish this goal. Simply put, start making your dishes in a timely manner. When it comes to basic cooking abilities for novices you do not need to learn them yet just if you understand some easy food preparation strategies.
This isn't a complete guide to quick as well as very easy lunch dishes but its great food for thought. With any luck this will obtain your creative juices moving so you can prepare tasty meals for your household without doing too many heavy meals on your journey.
So that's going to wrap it up with this special food Steps to Make Ultimate Mi Paulova. Thanks so much for reading. I'm confident you can make this at home. There's gonna be more interesting food in home recipes coming up. Don't forget to save this page in your browser, and share it to your family, friends and colleague. Thanks again for reading. Go on get cooking!


Comments
Post a Comment